

Did you know that you can make your own paint colours?
Since prehistoric times, our ancestors have sourced pigments from nature and used them for painting. This practice continued into antiquity, with some of our most famous artists creating their own colours.
A good example is the inspiration drawn from Yves Klein and his Klein blue for our own Hartem shop.
It may not seem like it these days, but it's still quite common and very useful if you need that particular shade.
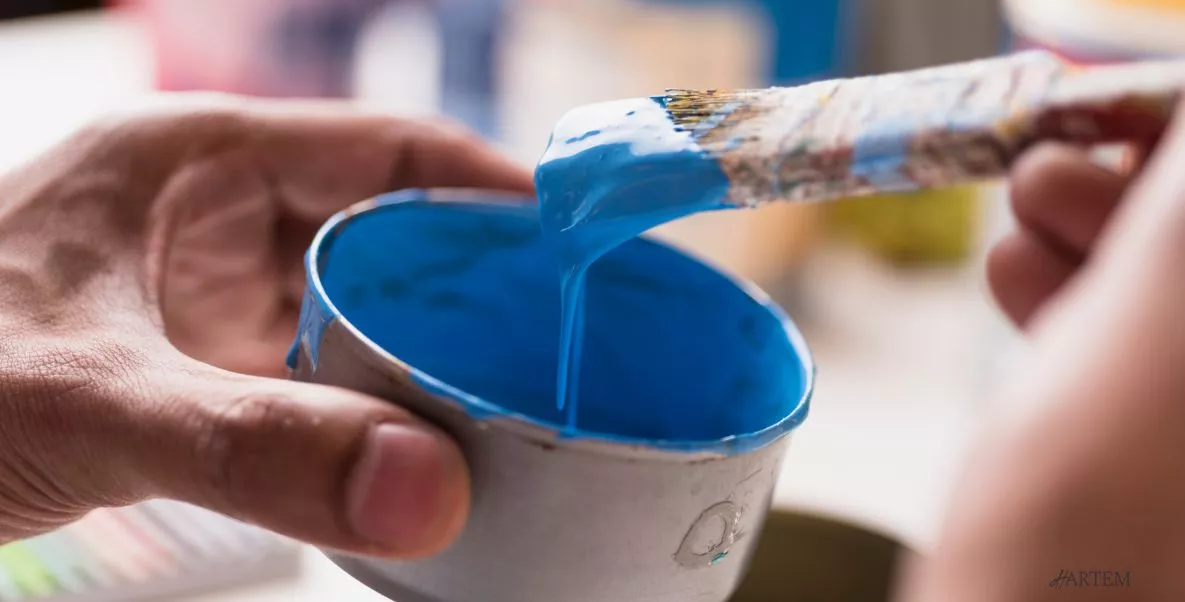
What do I need to know before I start making my own paint
- First, decide on the type of paint you want to use: oil-based, acrylic, gouache, tempera or watercolour.
- Then choose the necessary materials: pigments, binders and additives.
- Familiarise yourself with the tools, solvents and cleaning products required for working with these products..
The mixing process is the same for all types of paint; it is the ingredients that vary:
- Select the pure pigment colour and place it on a flat surface, usually a palette or some small wells.
- Add the binder required for the type of paint you wish to create and mix everything thoroughly.
- Add any additives of your choice.
- Proceed to grind it with a glass grinding wheel to dissolve all lumps and sediment until you obtain a paste with the desired consistency and perfectly homogeneous texture.
Guide to making each type of paint (quantities are approximate):
How to make oil paint:
Ingredients:
- 100 g of pure pigment powder.
- 30–100 g of linseed, safflower or poppy seed oil.
- 2–3 g of Courtrai drying agent.
- Spatulas.
- A grinder or mill.
- To add body, you can add beeswax or calcium carbonate.

How to make gouache:
Ingredients:
- 100 g of pure pigment powder.
- 50 - 100 g of 35% gum arabic solution.
- 8 - 10g glycerine.
How to make acrylic paint
Ingredients:
- 100 g of pure pigment powder
- 75 - 200 g acrylic binder.
- 5 - 20 g water
How to make watercolour paint:
Ingredients:
- 100 g of pure pigment powder.
- 50 - 100 g of 35% gum arabic solution, or watercolour medium.
- 10 - 15 g glycerine.
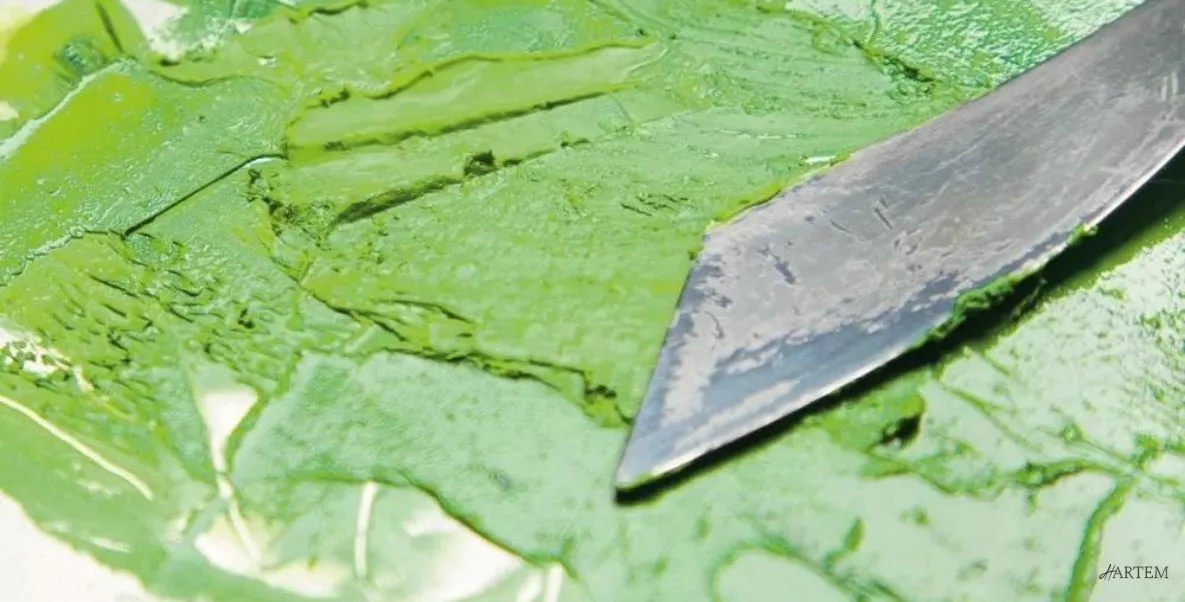
Once you’ve made them, store them in a container, an empty pot, a tube, a box or whatever you prefer.
We hope you find this guide useful.
Enjoy the hands-on process of making your own supplies!
Related products with this post
Want to unleash your creativity? Want to know which products we have mentioned in this post? Here they are:


